I was commissioned to make a wooden keyboard wrist rest for a customer based on a design he showed me. The hexagons were cut out using my CNC, and then filled with a white epoxy resin. I love the way this came out, and I think it really elevates any workspace or home office!
Check out the full build video below!
Affiliate links are used below. I get a small commission from sales made through them, at no extra cost to you 🙌
TOOLS
MATERIALS
White Oak Board
45cm x 14cm x 2.3cm (17.7" x 5.5" x 0.9")
Step 1: CNC Hexagons
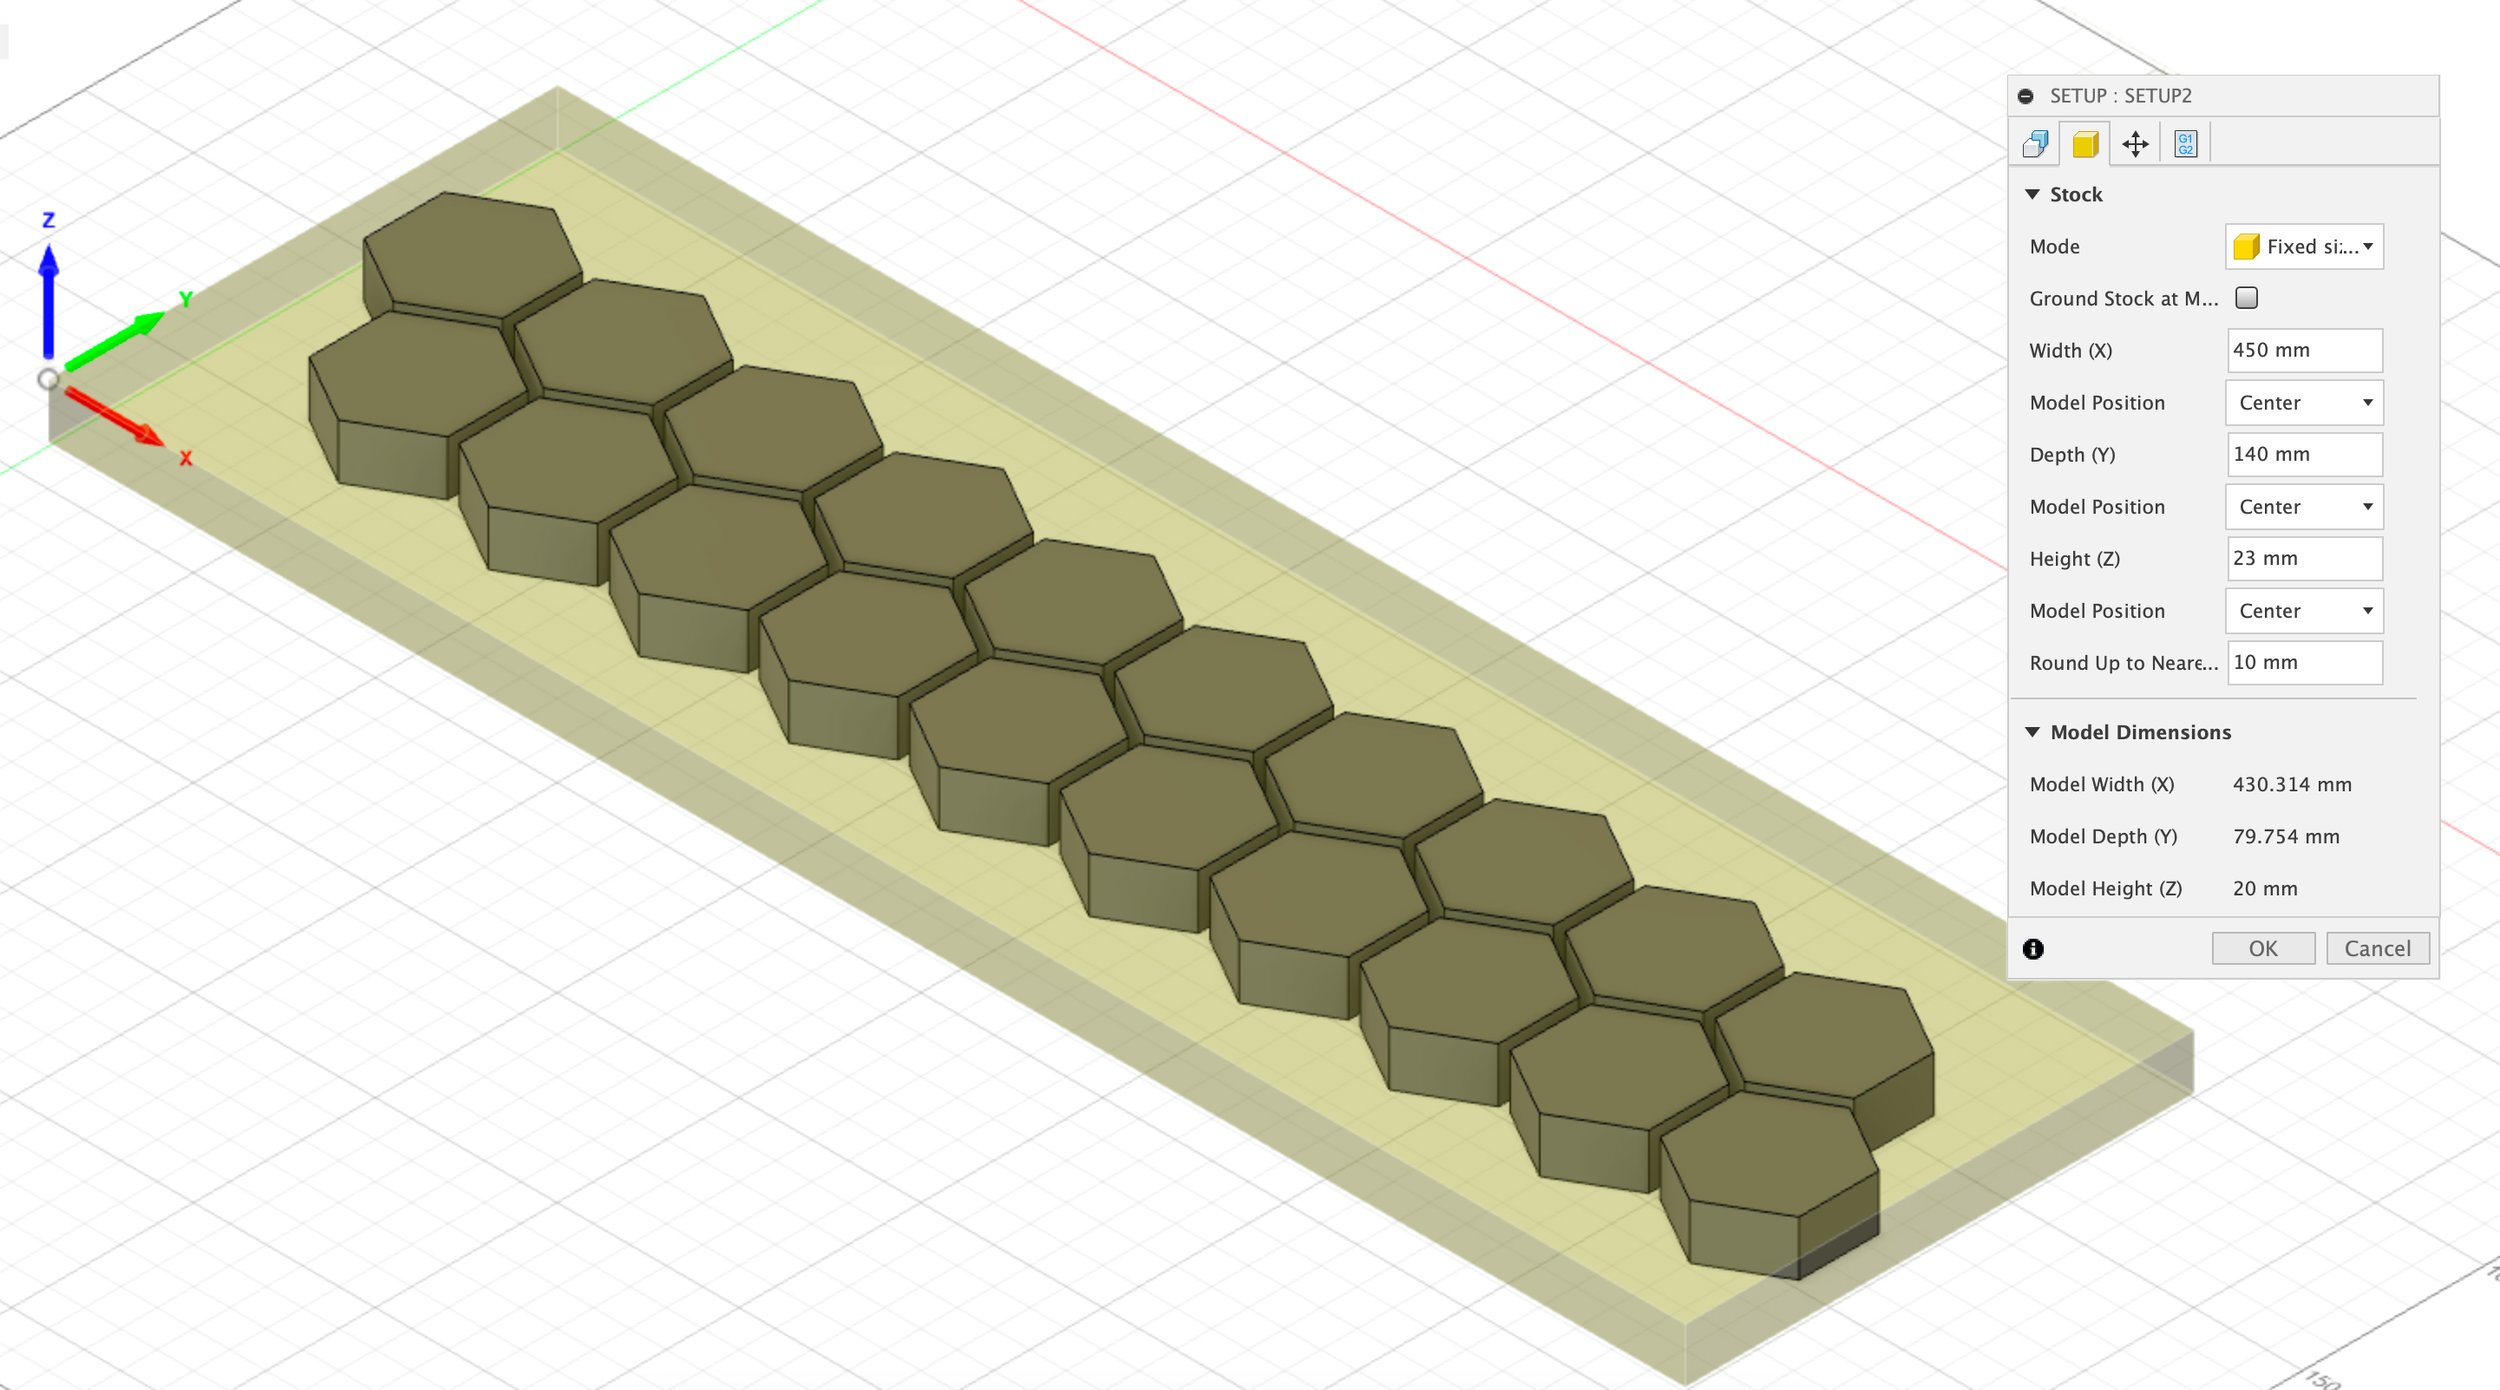


I started out the project with a piece of pre-milled white oak. The dimension of the workpiece was 45cm x 14cm x 2.3cm (17.7" x 5.5" x 0.9"). The hexagons are laid out in the workpiece as shown in the image. I used a 1/8" downcut bit at the CNC to cut the gaps between the pieces.
Step 2: Making the form


Once the hexagons are cut, it's time to make the form. I used 3/4" MDF for this. The base of the form was cut to 47cm x 14cm (18.5" x 5.5"). And the walls are made from 2.5cm (1") tall strips. Use sheathing tape to cover all the faces that will form the inside of the form. This prevents the epoxy from sticking to the form.
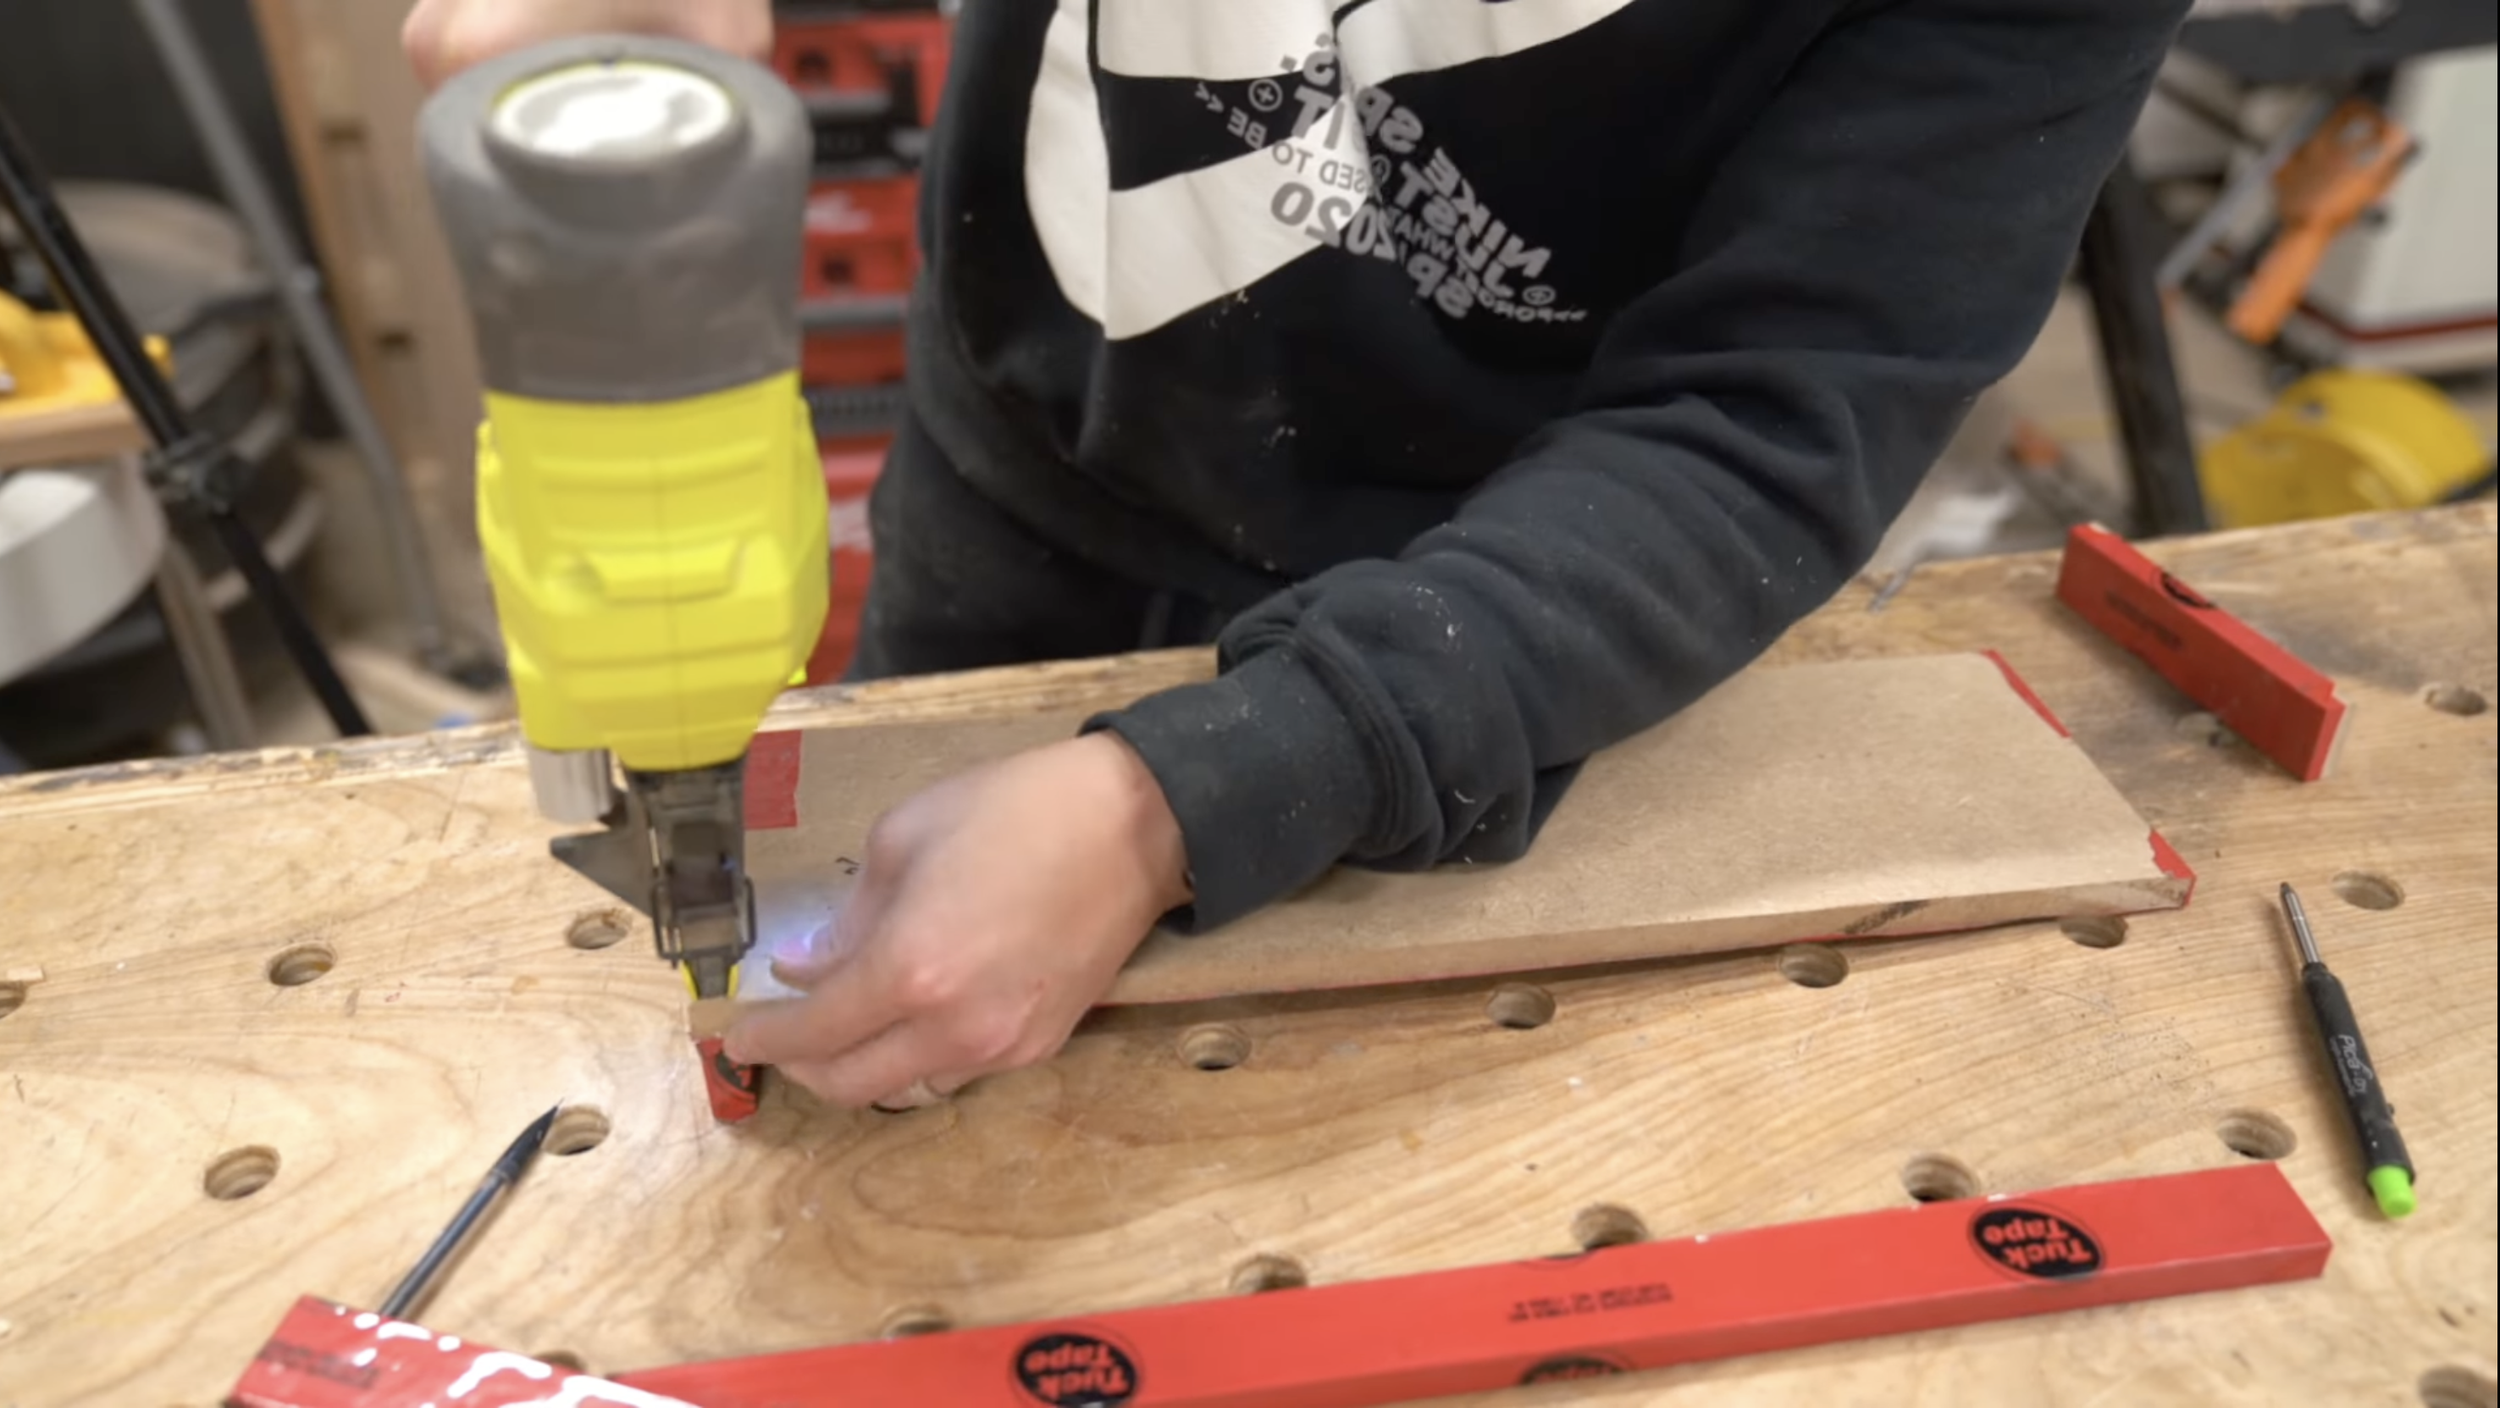
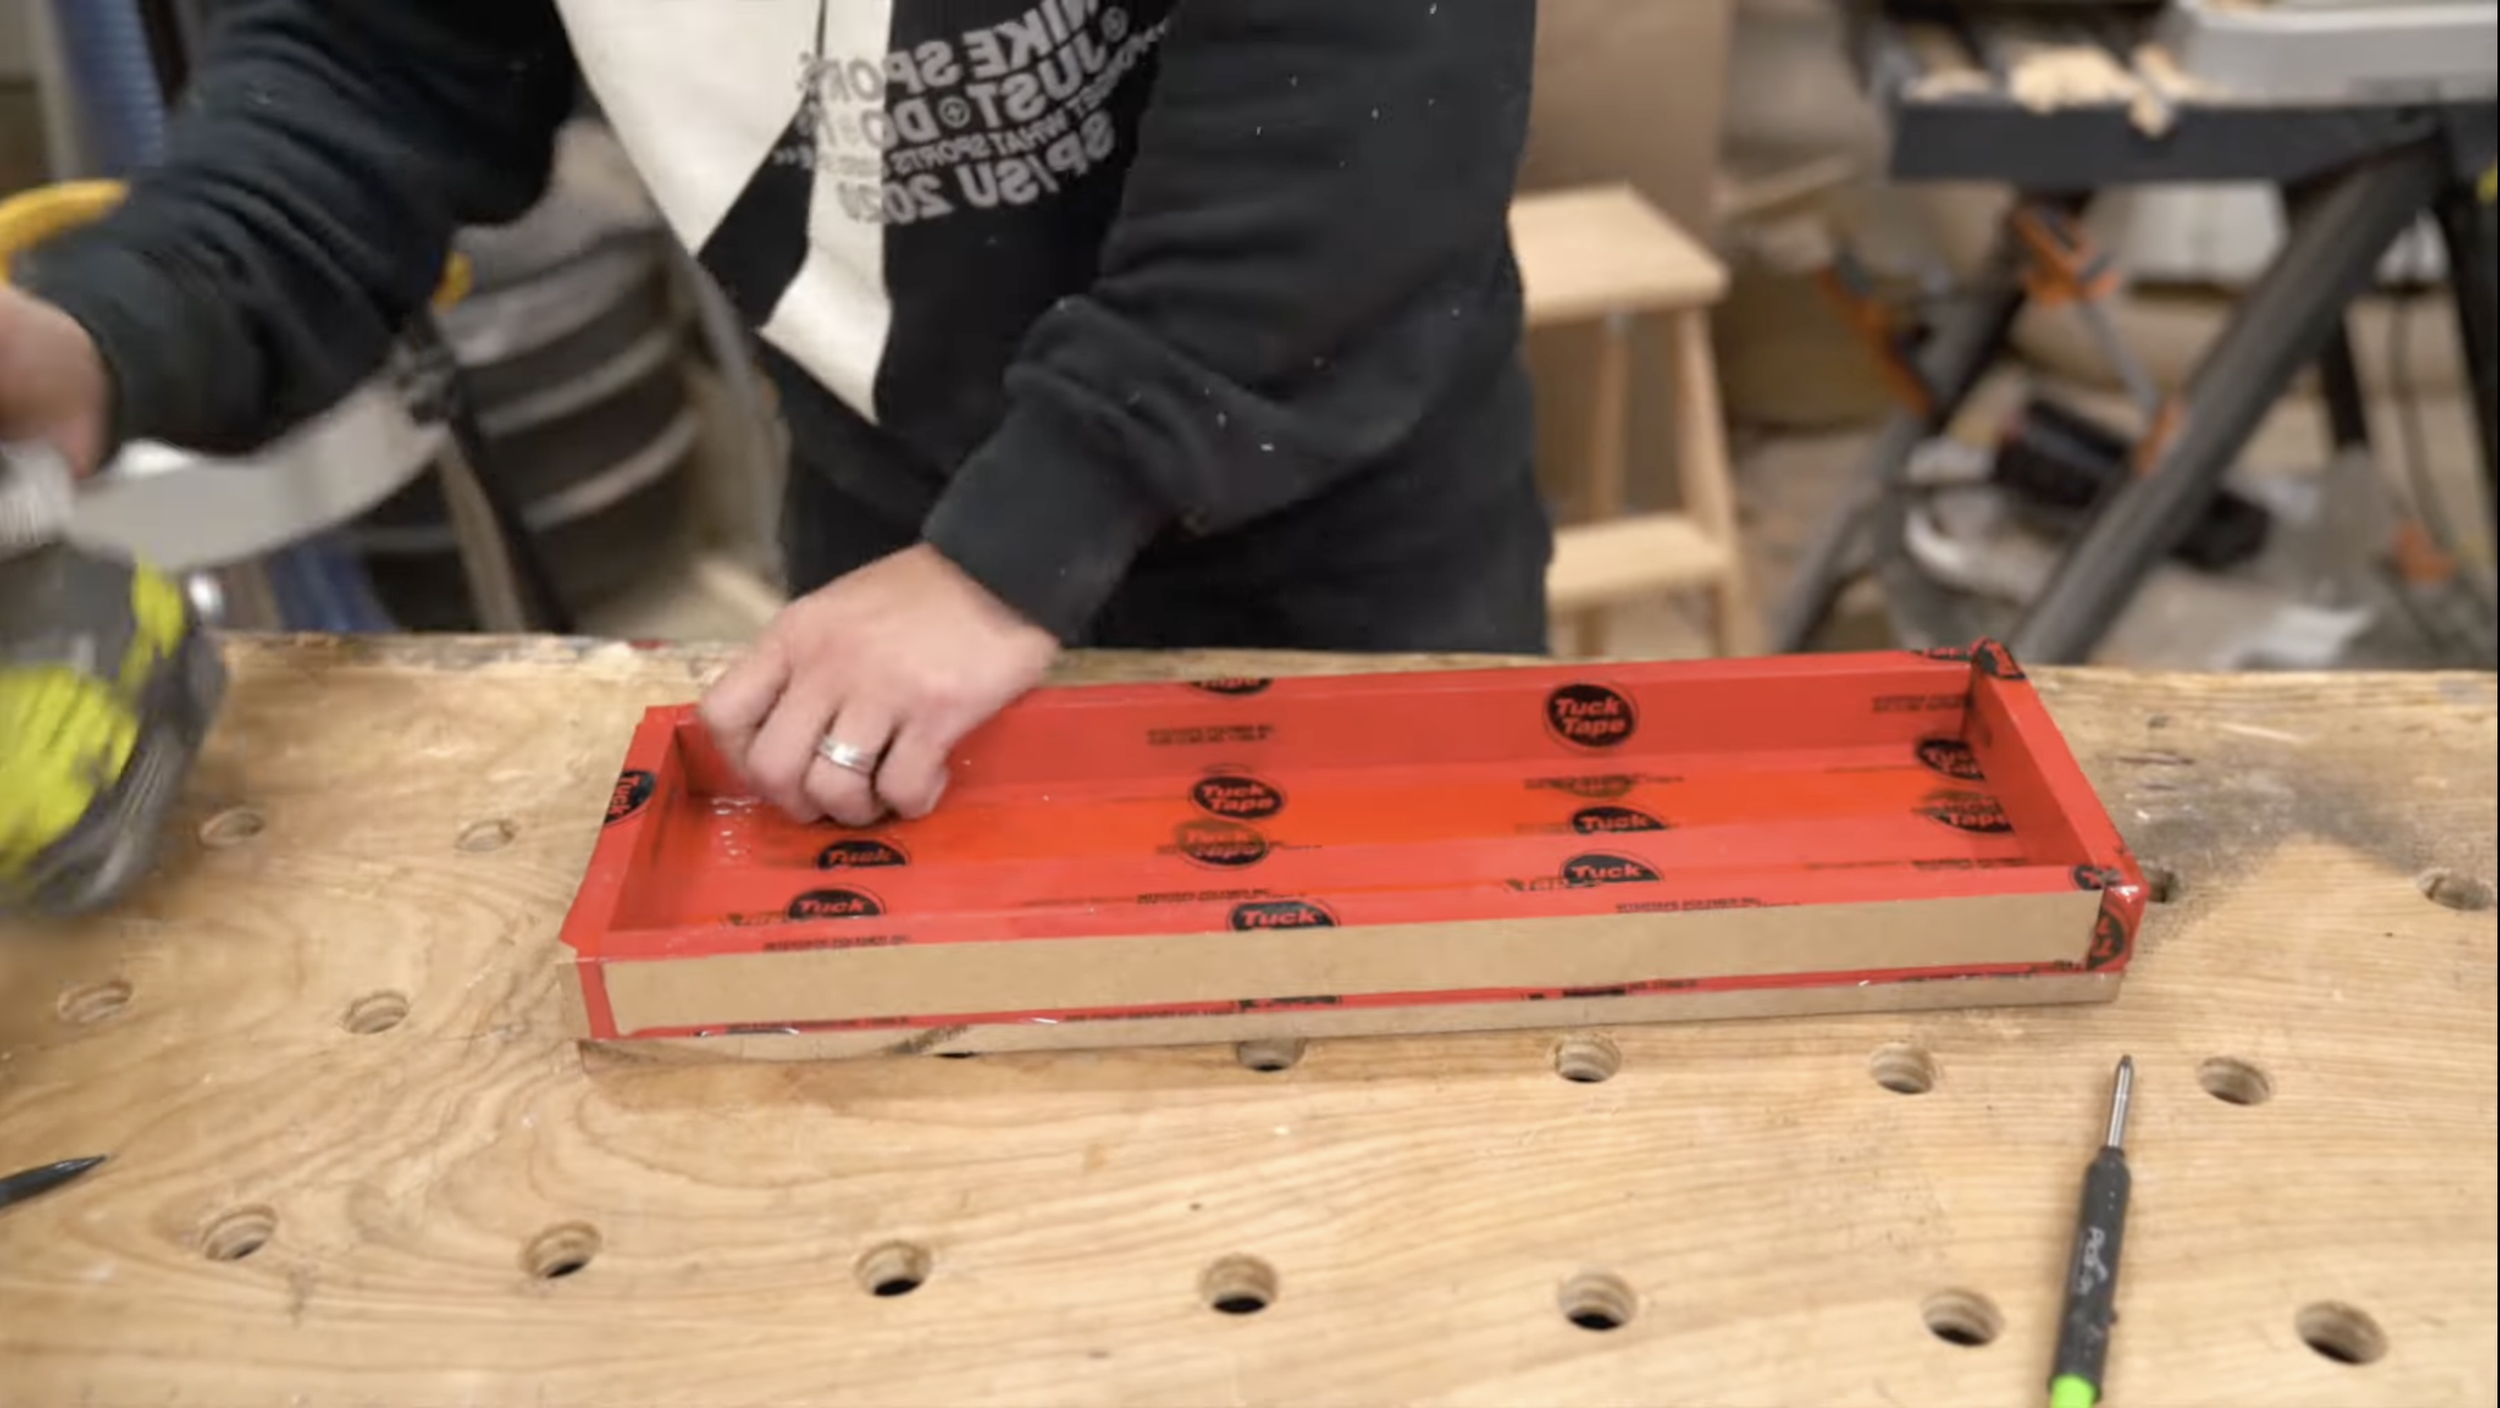

Attach the four walls to the base using brad nails, and sealed all the gaps with caulk to prevent the epoxy from leaking.
Note: the tabs were not cut between the hexagons after the CNC operation, so there's no need to worry about placing the hexagons perfectly inside the form in the next step
step 3: epoxy pour


Mix the resin and the hardener, and then mix in the pigment. I used a pearl white pigment for this. Pour the epoxy resin into the form.
step 4: cut to final size

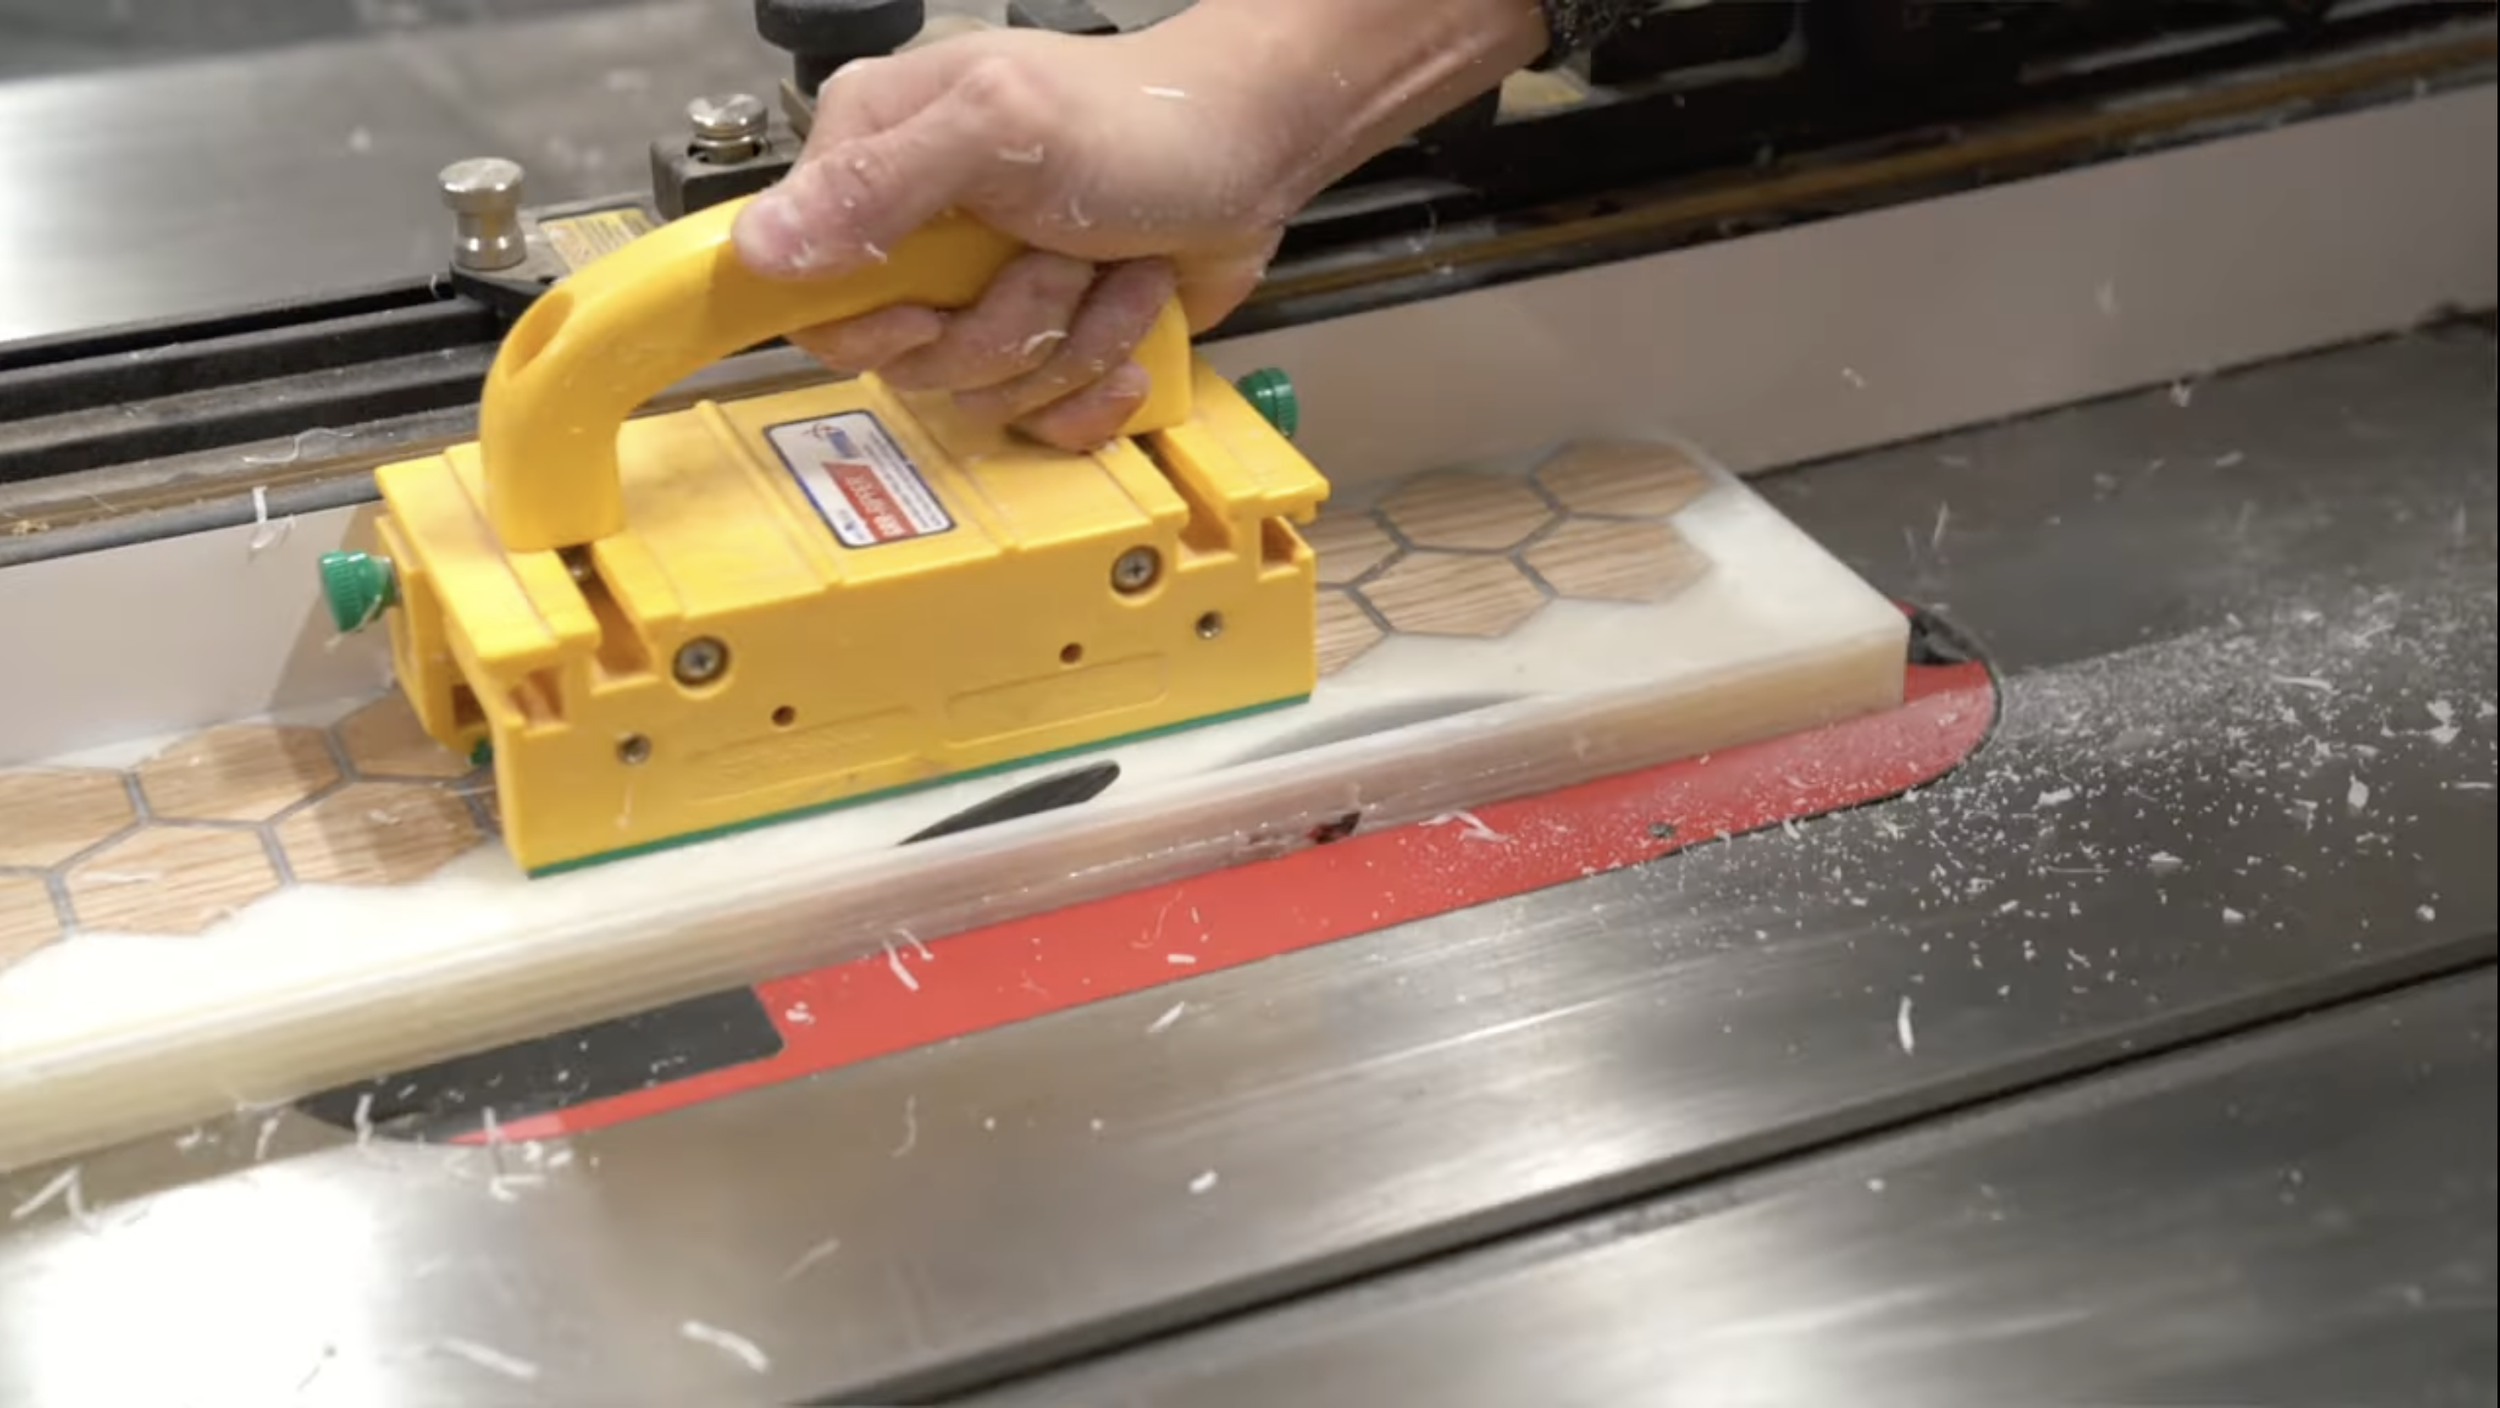


Once the epoxy has fully cured, I took the workpiece out of the form and ran it through the planer until both sides are clean, and the final thickness was brought down to 20mm. Next, I ripped the epoxy side of the workpiece first, leaving about 2cm from the tip of the hexagon to the edge of the epoxy. Then I flipped the board over to rip the other edge, bringing the final depth to 8cm (3.2"). Finally, I crosscut the workpiece to its final length of 37cm (14.5").


The last operation was setting my table saw blade to 6 degrees, and I cut a 6-deg taper on the to one end.
step 5: finishing


Once the part has been cut to its final size, I sanded the whole thing up to 320 grit. Then I taped off the edges of the work sections, and used a polishing compound to buff the epoxy portion until it's nice and shiny.


Finally, I sprayed on some varnish over the entire project to finish it.